Coil Prep 101
12th Jan 2016
The Basics: Coil Prep 101
Okay, so if you're using basic, vape coils in your new sub-ohm tank life is easy, right? Just screw that bad boy in, fill your tank up and vape away with the huge power these bad boys are supposed to handle!
Not quite - you may be able to get away with this, but there's a fine art to getting your new coils ready to vape. It really only takes a couple minutes, and using proper technique and a little patience goes a long way toward getting the most out of your coils in terms of both performance and longevity.
1. Installation - this really is the simple part - screw the coil into the sub ohm tank base, unscrewing and discarding the old one first if applicable. Finger-tight is plenty, you don't want to screw anything down beyond snug in the vaping world or you could end up with parts stuck together and a nightmare getting them apart later. Pro tip: stick stuck metal threading in the freezer for a half hour or so (not sure you want to try this with a regulated mod containing electronics, however) - the cold will shrink the metal and make it easier to break stuck threads if you do end up over-tightening. Check your device regularly - because you're not cranking down super tight you may occasionally need to snug things up.
2. Pre-drip - add a drop or two of e liquid direct from your bottle to the coil at each of the juice ports on the sides and into the coil from the top. Don't add too much, especially to the top, or you'll encounter flooding and gurgling hits when you first go to vape. Just a drop or two will do - the wicking material should suck this right up.
3. Fill - top up your tank, screw all the components together. Remember, finger-tight for a coil is plenty!
4. Wait - give your coil a good 5-15 minutes to soak up any extra liquid it may need to saturate the wicks in case you didn't fully 'prime' the coil by pre-dripping.
5. Low and slow - barbecue aficionados know this is the only way to go about getting top-notch meat. To get your coil performing at the top of its game, start at the bottom end of the suggested wattage range, or even a few watts below. Gradually turn up the power every vape or two until you find the 'sweet spot' for your juice and vaping style. By taking it easy for the first tank or so you'll gradually break the coil in, avoiding burning your wicking or juice. This can mean the difference between a coil you can't stand after three or four tanks and one that lasts for 20 fills or more.
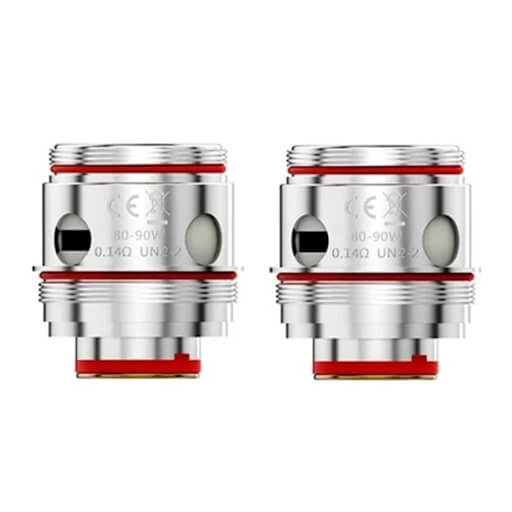
Uwell Valyrian 3 Replacement Coils
The Uwell Valyrian 3 Replacement Coils were designed specifically for the Uwell Valyrian 3 Sub Ohm Tank! Featuring Uwell's new mesh coil structure and organic cotton wicking, these coils are ready to bring both the flavor and the clouds.
That's not so hard, right? By breaking in your new coils properly you'll help them perform at their peak and last considerably longer. At $2-3 a pop or more who doesn't want that? You'll also have a chance during the break-in period to sample your juice across a wider range of power delivery options - even if you think 'your' wattage setting is 60, you might be surprised to find that your favorite flavors take on a whole new character when vaped as low as 30 watts or when pushed to 80 or more. Good luck, and happy vapor trails!
Vape Juices
- Vape Craft - OMG
- The One E-Liquid - Marshmallow Milk
- Bam's Cannoli E-Liquid - Captain Cannoli
- Naked 100 - POG
- Cloud Nurdz Iced Salt E-Liquid - Strawberry Kiwi
- Juice Head E-Liquid - Watermelon Lime Freeze - 100ml
- Fruit Monster - Mixed Berry
- Nude - Caramel Cheesecake- 120ml
- Reds x Keep It 100 Salt E-Liquid - Menthol Slapple
Vape Hardware & Disposables
- Lost Mary Disposables
- Lost Vape Disposables
- Elf Bar
- Ecig Mods
- Geek Vape AQ (Aegis Q) Pod Mod 20W Starter Kit
- Voopoo Argus GT 2 Uforce-L Starter Kit
- VooPoo Drag 4 with UForce-L Tank 177W Starter Kit
- Yocan Evolve Plus XL Kit Wax Vaporizer
- Vape Kits For Sale
- Voopoo UFORCE-L Sub-Ohm Tank
- Smok Vape Hardware


